

Onboarding
When you first open the KaleidoSwap Extension, the onboarding flow guides you through initial setup.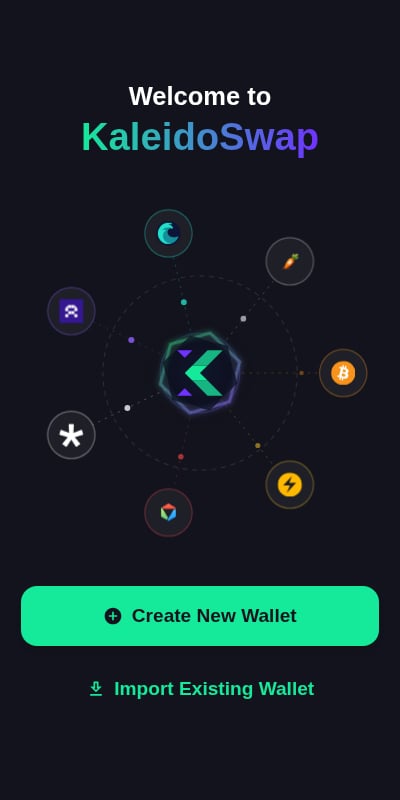
1
Welcome
Choose Create New Wallet or Import Existing Wallet.
2
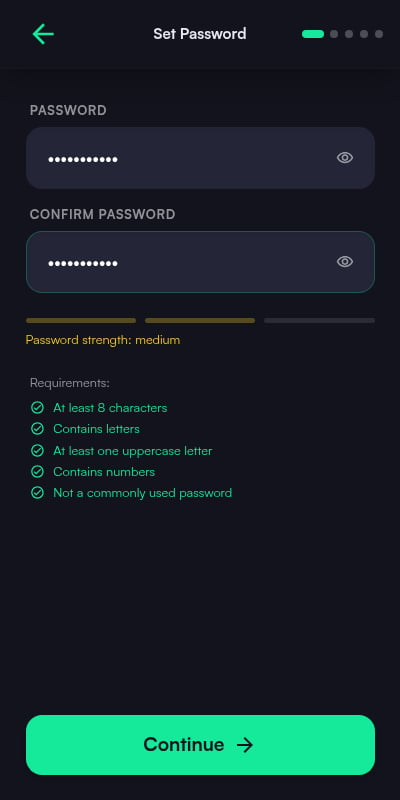
Create a Password
Set a secure password to protect your wallet. This password is used to:
- Unlock the extension after it auto-locks
- Encrypt your stored wallet data
3
Back Up the Recovery Phrase
New wallets generate a 12-word recovery phrase. This BIP39 phrase controls the Spark, Arkade, Liquid, and RGB-L1 accounts, plus the default Nostr identity derived by the extension. Restoring the wallet later always starts from this phrase.
4
Passkey (Optional)
Optionally register a passkey (WebAuthn) so you can unlock the wallet with your device’s biometrics or security key instead of typing the password. You can skip this and add a passkey later from Settings.
5
Nostr Identity
New wallets get a Nostr identity derived from the recovery phrase (NIP-06). If you already have a Nostr identity, you can import your existing key (
nsec1… or 64-character hex) here instead; it is stored encrypted. Skipping keeps the derived identity.6
RGB Setup
Choose how RGB should connect:
- Node-less (recommended) - Self-custodial RGB assets and BTC on Bitcoin L1, running entirely on your device. No node to run.
- RLN node - Connect your own RGB Lightning Node to add Lightning channels and maker-based RGB swaps on top of RGB. Experimental and test-network only.
7
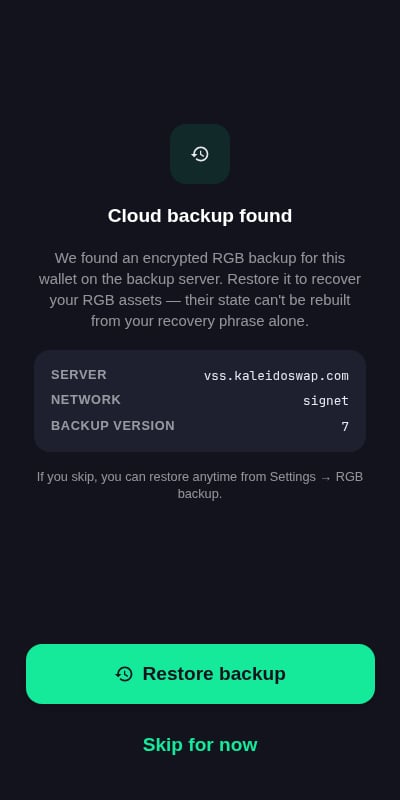
Restore RGB Backup (Import Only)
When importing an existing wallet with node-less RGB, the extension asks whether to restore your RGB state from a cloud (VSS) backup. Nothing is restored without your explicit consent on this step.
8
Done
Continue to the wallet. The extension starts with Spark, Arkade, Liquid, and RGB accounts, and adds RLN features when you connect a node.
RGB Accounts
Node-less RGB (RGB-L1)
The default RGB backing runs RGB on Bitcoin L1 entirely inside the extension (WebAssembly), no node required. It connects to mainnet by default through an Esplora indexer (a default is provided; you can supply your own in Settings > RGB-L1), auto-creates blinded receive invoices, manages UTXOs for you, and backs up RGB state to encrypted cloud (VSS) and local file backups.RGB Lightning Node
RLN is optional and experimental. Connect it if you want RGB Lightning channels, RGB invoices over Lightning, or maker-based RGB swaps.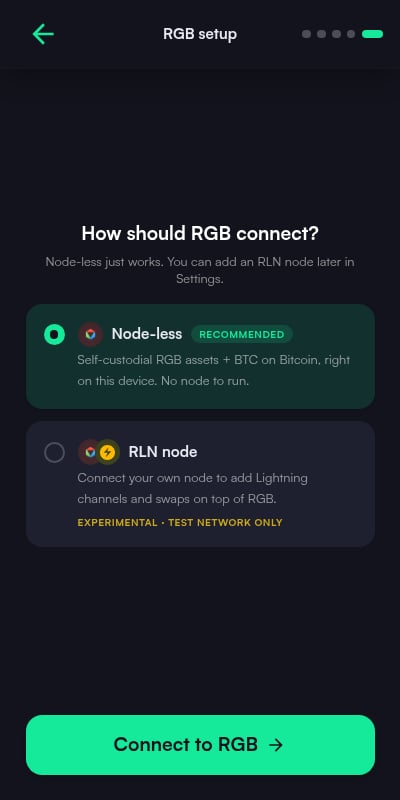
- Direct - Enter the RLN Node URL (the node endpoint, such as
http://localhost:3001) and an optional Biscuit / JWT token when your node requires one. - Nostr Wallet Connect (NWC) - Paste a
nostr+walletconnect://connection string (for example, from the KaleidoSwap Desktop App). Your node stays remote and only signed requests travel over the relay.
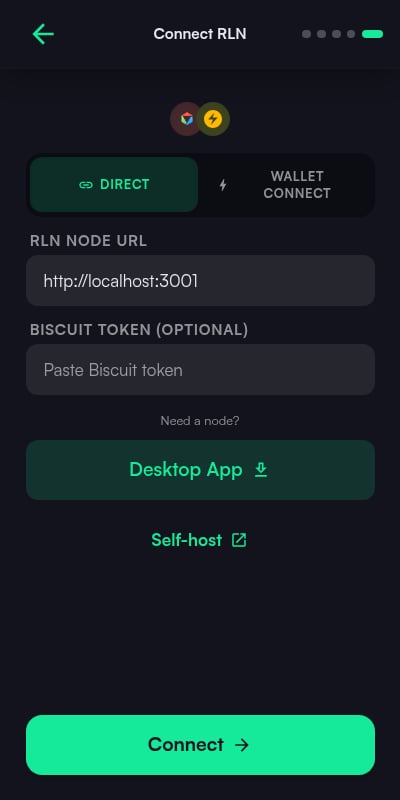
RGB Lightning is shown as an experimental test-network feature in onboarding. You can skip it and connect later from Settings. Connecting an RLN node replaces the node-less RGB-L1 backing.
Dashboard Overview
After setup, the dashboard shows account status and assets across the connected protocols.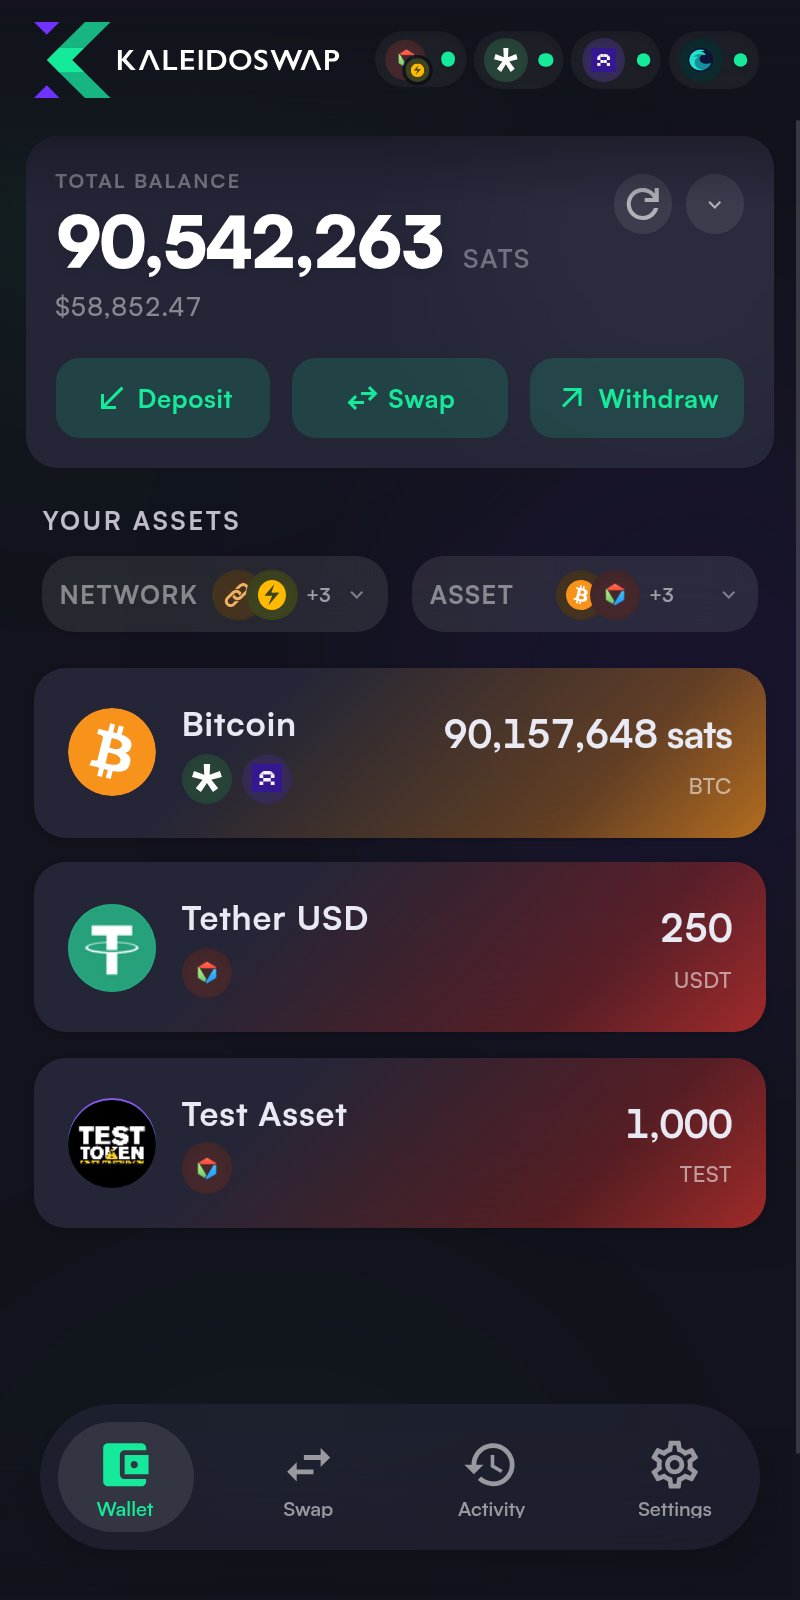
Account Status
The dashboard surfaces Spark, Arkade, Liquid, and RGB account state. Each account chip shows whether it is ready, offline, optional, or still syncing. If a connected account stops responding (for example, a balance call keeps timing out), its chip turns amber with a Not responding state and the dashboard shows a dismissible banner with a Retry action.Asset Filters
Use the asset and network filters to focus on:- BTC across all protocols
- Spark assets
- Arkade assets
- Liquid assets (L-BTC and issued assets such as USDt)
- RGB assets (node-less or via RLN)
- Bitcoin L1, Lightning, Spark, Arkade, and Liquid network slices
Actions
Lock and Unlock
Auto-Lock
The KaleidoSwap Extension automatically locks after a period of inactivity. When locked, the extension requires your password (or passkey, if registered) before it decrypts the mnemonic in memory again.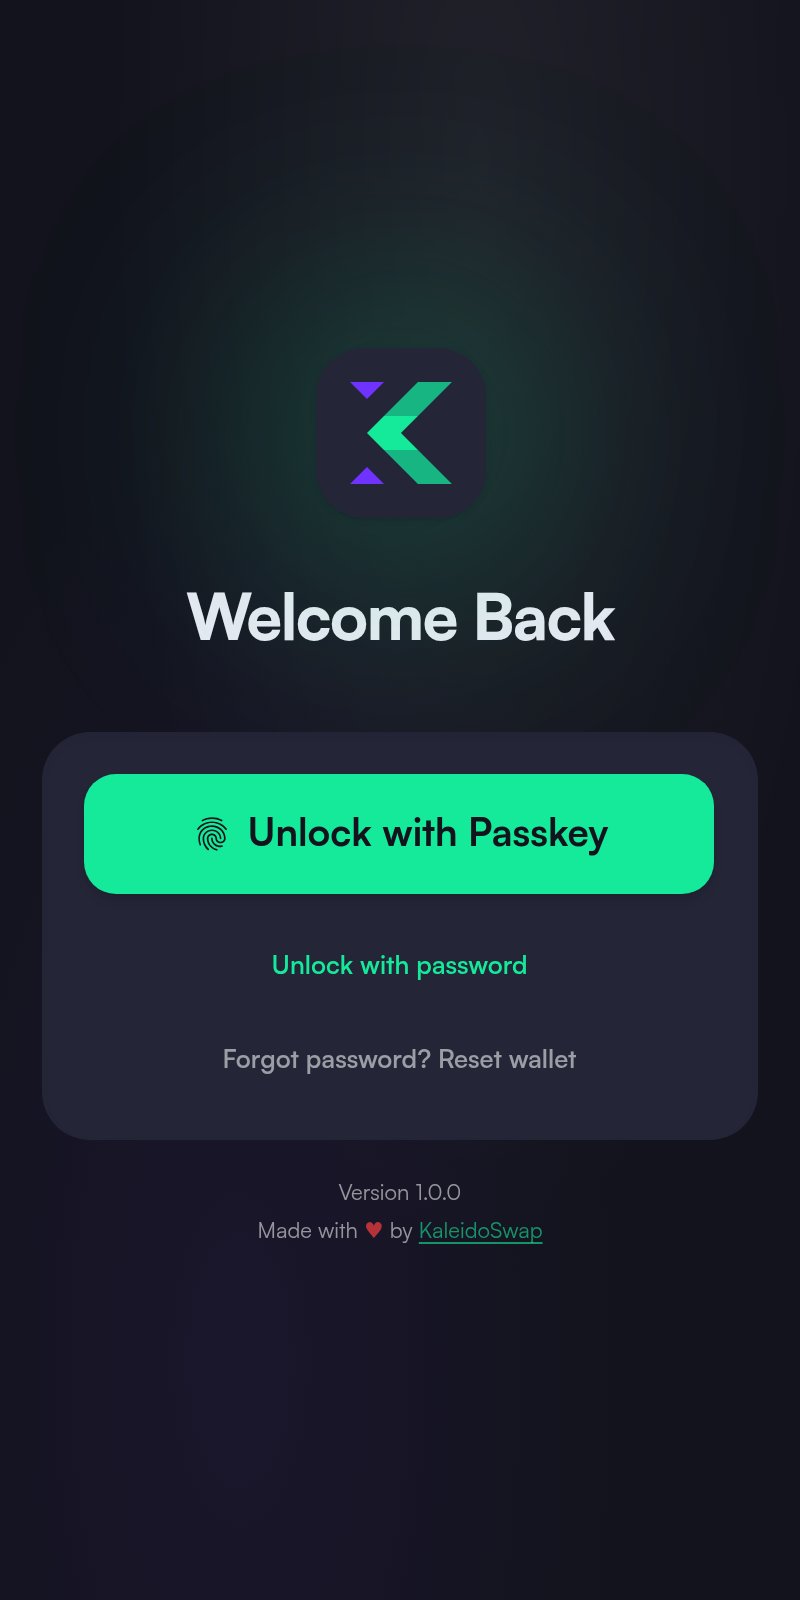
Unlocking
When the extension is locked, you’ll see the Welcome Back screen shown above.- With passkey - if you registered one, tap Unlock with Passkey and confirm with your device’s biometrics or security key
- With password - enter your password and select Unlock
Manual Lock
Use Settings > Lock Wallet to lock immediately.Changing Lock Timeout
Go to Settings > Security to adjust the auto-lock timeout (from 1 minute to 1 hour, or never). The Bitcoin unit display is an inline picker on the main Settings page.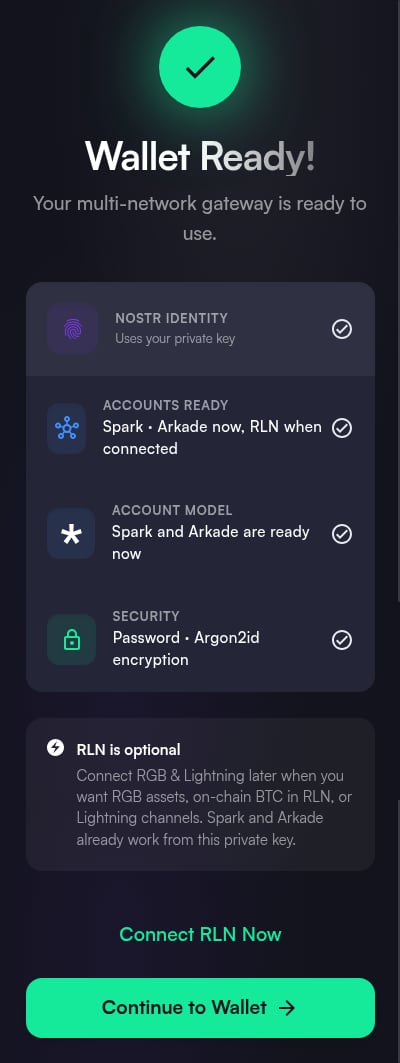
Access the Beta
Request access to the KaleidoSwap Extension closed beta.