Browser Requirements
The KaleidoSwap Extension is built as a Manifest V3 web extension. The first closed beta is distributed as a Chromium-compatible zip archive for Developer Mode installation.| Browser | Supported |
|---|---|
| Google Chrome | Closed beta target |
| Brave | Closed beta target |
| Edge | Closed beta target |
| Opera | Closed beta target |
| Firefox | Not part of the first closed beta unless a Firefox build is provided |
| Safari | Not yet |
Installation
Closed Beta Zip (Developer Mode)
The first KaleidoSwap Extension release is an invite-only closed beta. There is no browser-store listing yet, and the extension source repository is not public yet. Invited testers receive a private Drive link from the KaleidoSwap team with the beta zip, checksum, and release notes.Download the Beta Zip
Open the private Drive link from your beta invite and download the latest KaleidoSwap Extension zip archive. If a checksum is provided, verify it before installing.
Extract the Archive
Unzip the archive into a stable folder on your machine. Keep this extracted folder in place while the extension is installed, because the browser loads the extension from that folder.
Load Unpacked
Click Load unpacked and select the extracted folder that contains
manifest.json. If the archive contains a dist folder, select dist.Not Available Yet
| Channel | Status |
|---|---|
| Browser stores | Not available during the first closed beta |
| Source build | Not available until the extension source is opened |
Closed beta testers should install only the zip provided through the private Drive link. Source-build instructions will be added when the extension repository is made public.
First Launch
After installation, clicking the KaleidoSwap icon in your toolbar opens the extension popup. On first launch, you are guided through the onboarding flow: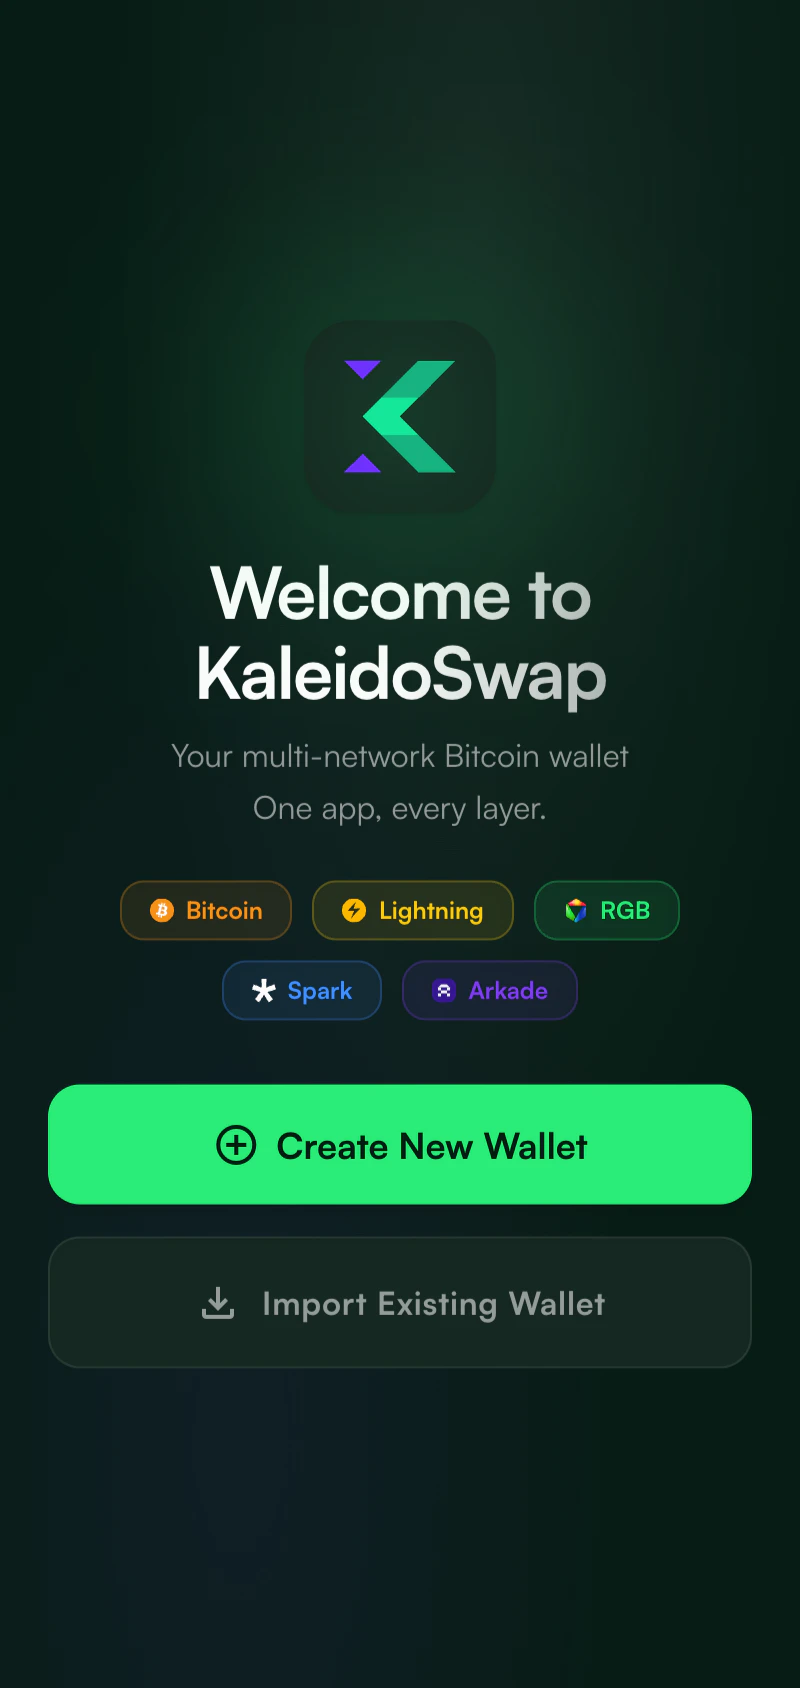
- Welcome screen - Create a new wallet or import an existing phrase
- Password setup - Create a secure password to protect the local wallet
- Recovery phrase backup - Save the phrase that controls Spark, Arkade, and Nostr identity
- Optional RLN setup - Connect an RGB Lightning Node, or skip and connect it later
- Ready - Continue to the wallet dashboard
Permissions
The KaleidoSwap Extension requests the following Chrome extension permissions:| Permission | Purpose |
|---|---|
| Storage | Store encrypted wallet data, preferences, and account configuration locally |
| Active Tab | Support browser-page wallet interactions |
| Scripting | Inject DApp bridge scripts |
| Tabs | Coordinate approval and confirmation windows |
| Alarms | Run scheduled wallet/session tasks |
| Notifications | Notify the user about wallet events where supported |
The KaleidoSwap Extension stores the encrypted mnemonic in
chrome.storage.local. Network calls are made only for the accounts and services you connect, such as Spark, Arkade, an optional RGB Lightning Node, price data, or swap venues.Updating
Closed beta builds do not auto-update through a browser store. When a new beta is available, download the latest zip from the private Drive link, extract it, then return tochrome://extensions and click Reload on the KaleidoSwap Extension card. If you extracted the new build into a different folder, remove the old unpacked extension and load the new folder.