Create New Wallet
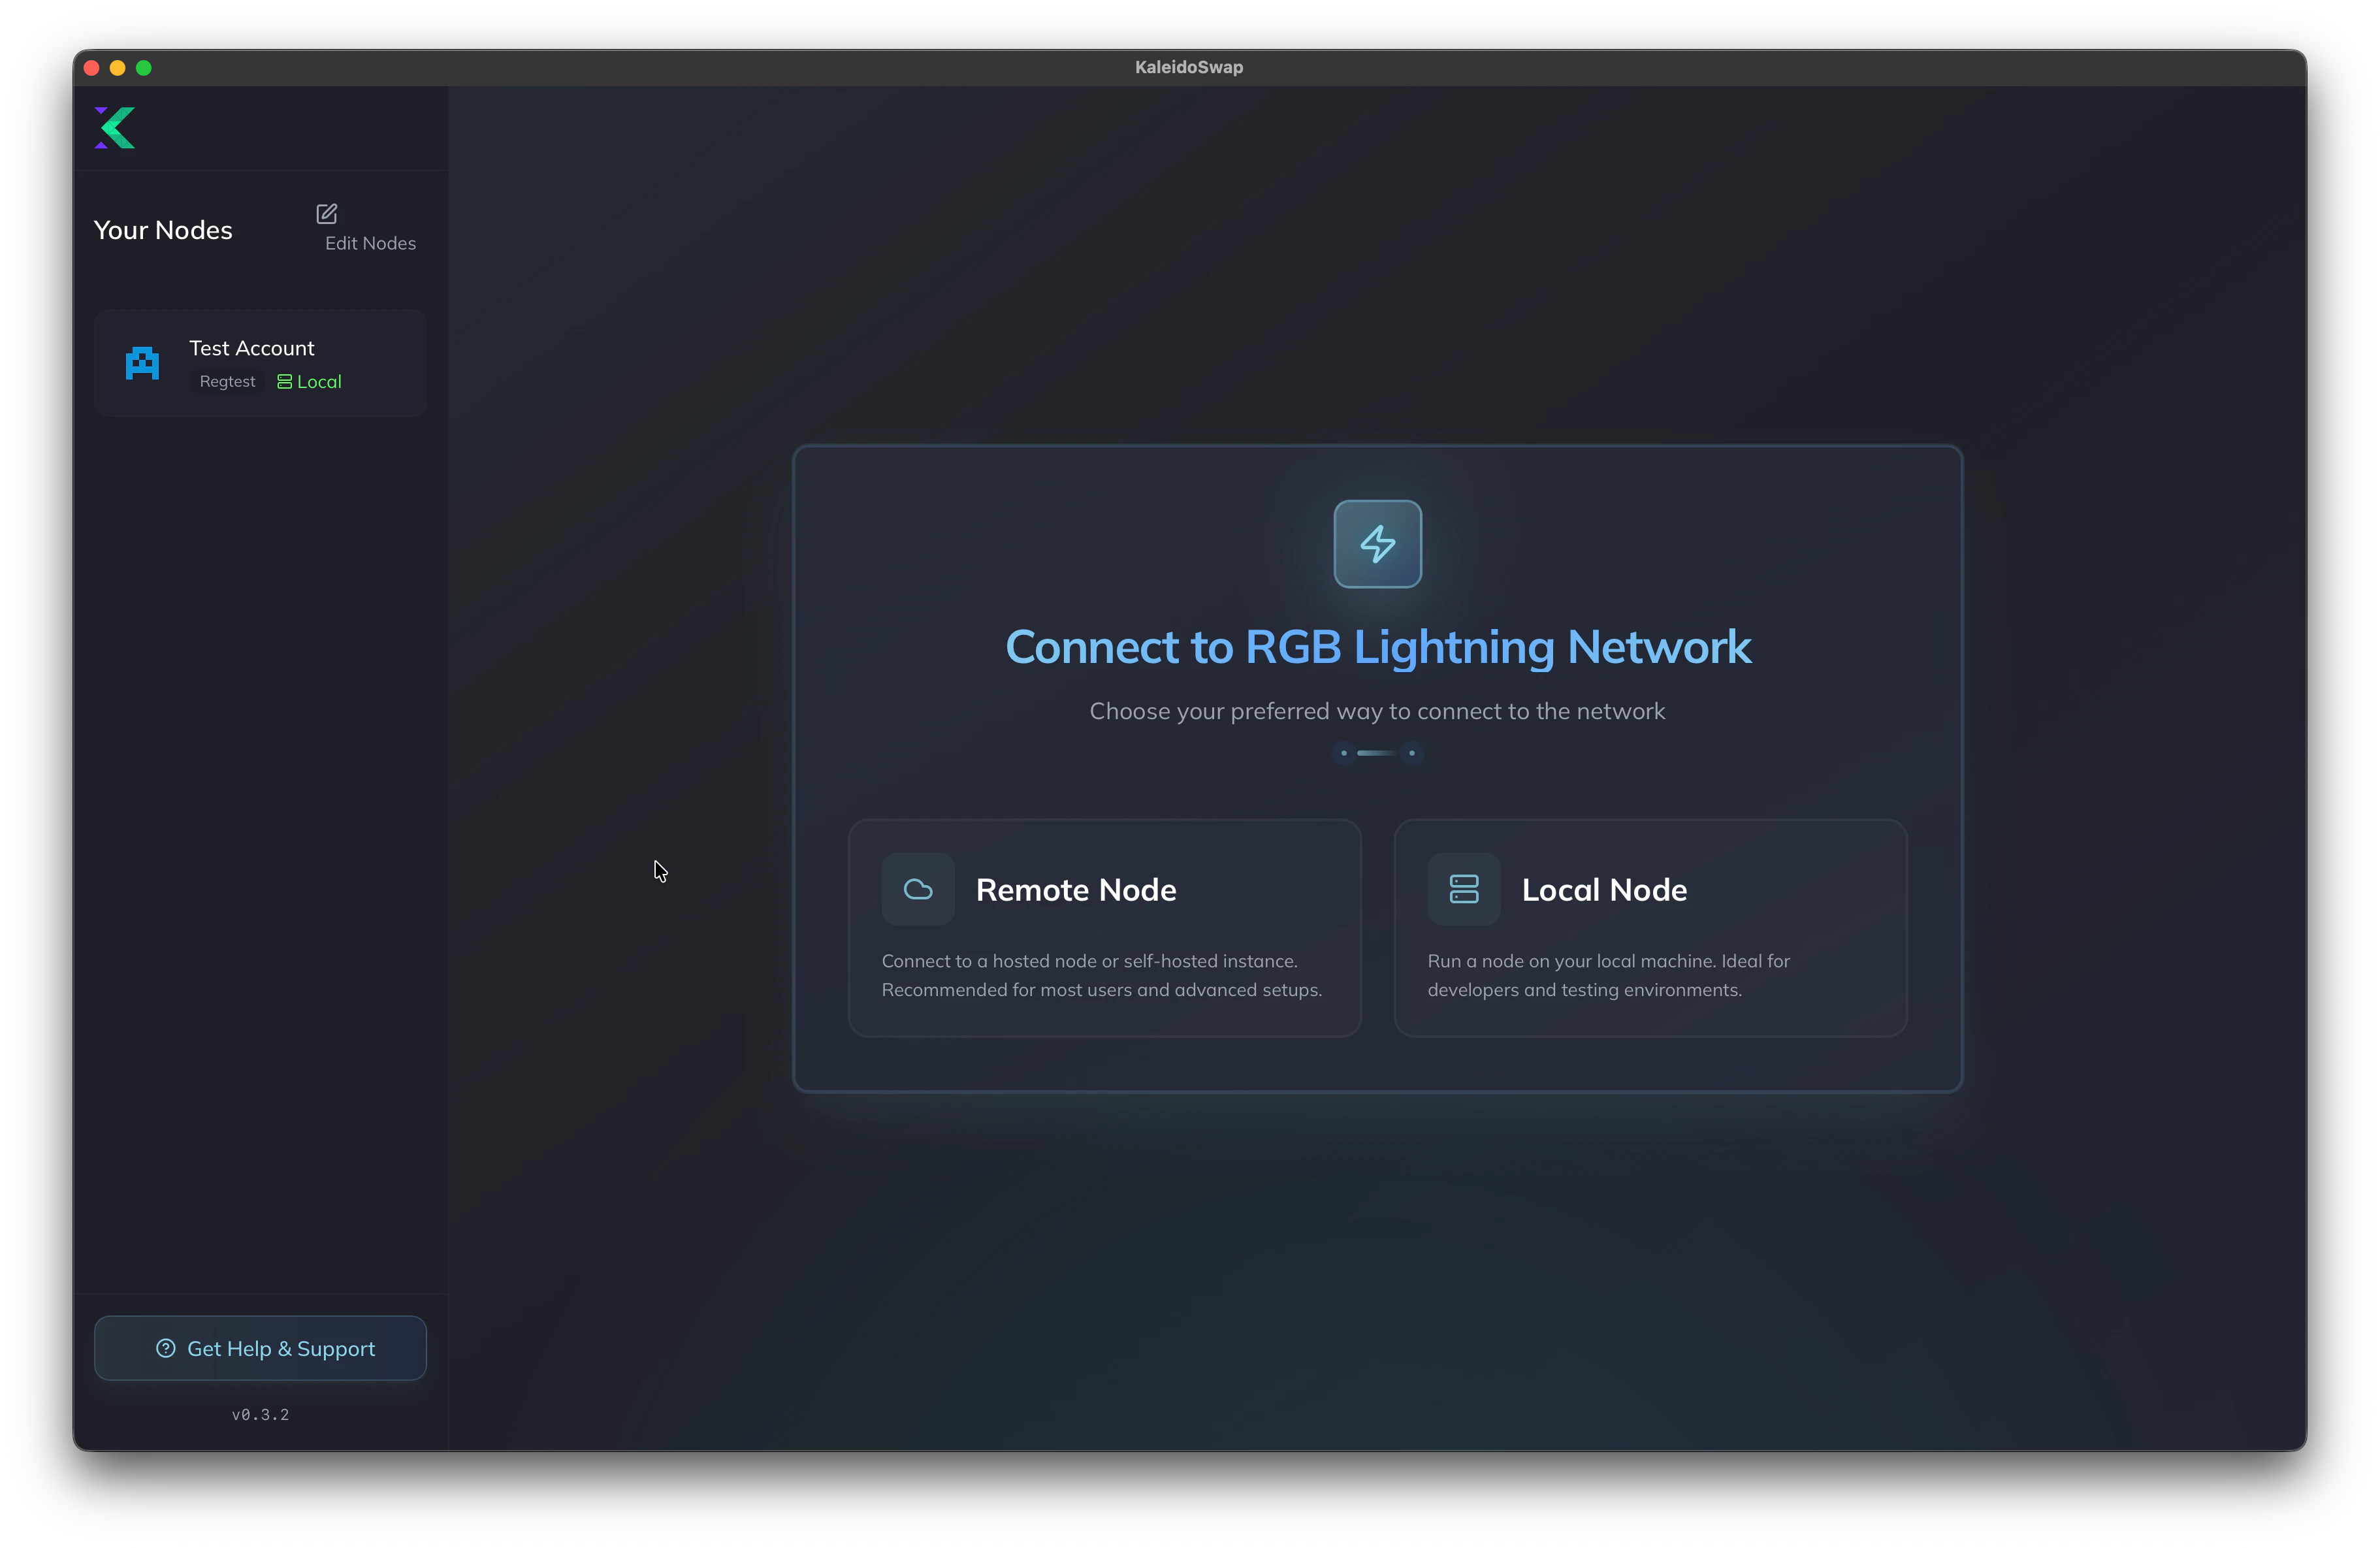
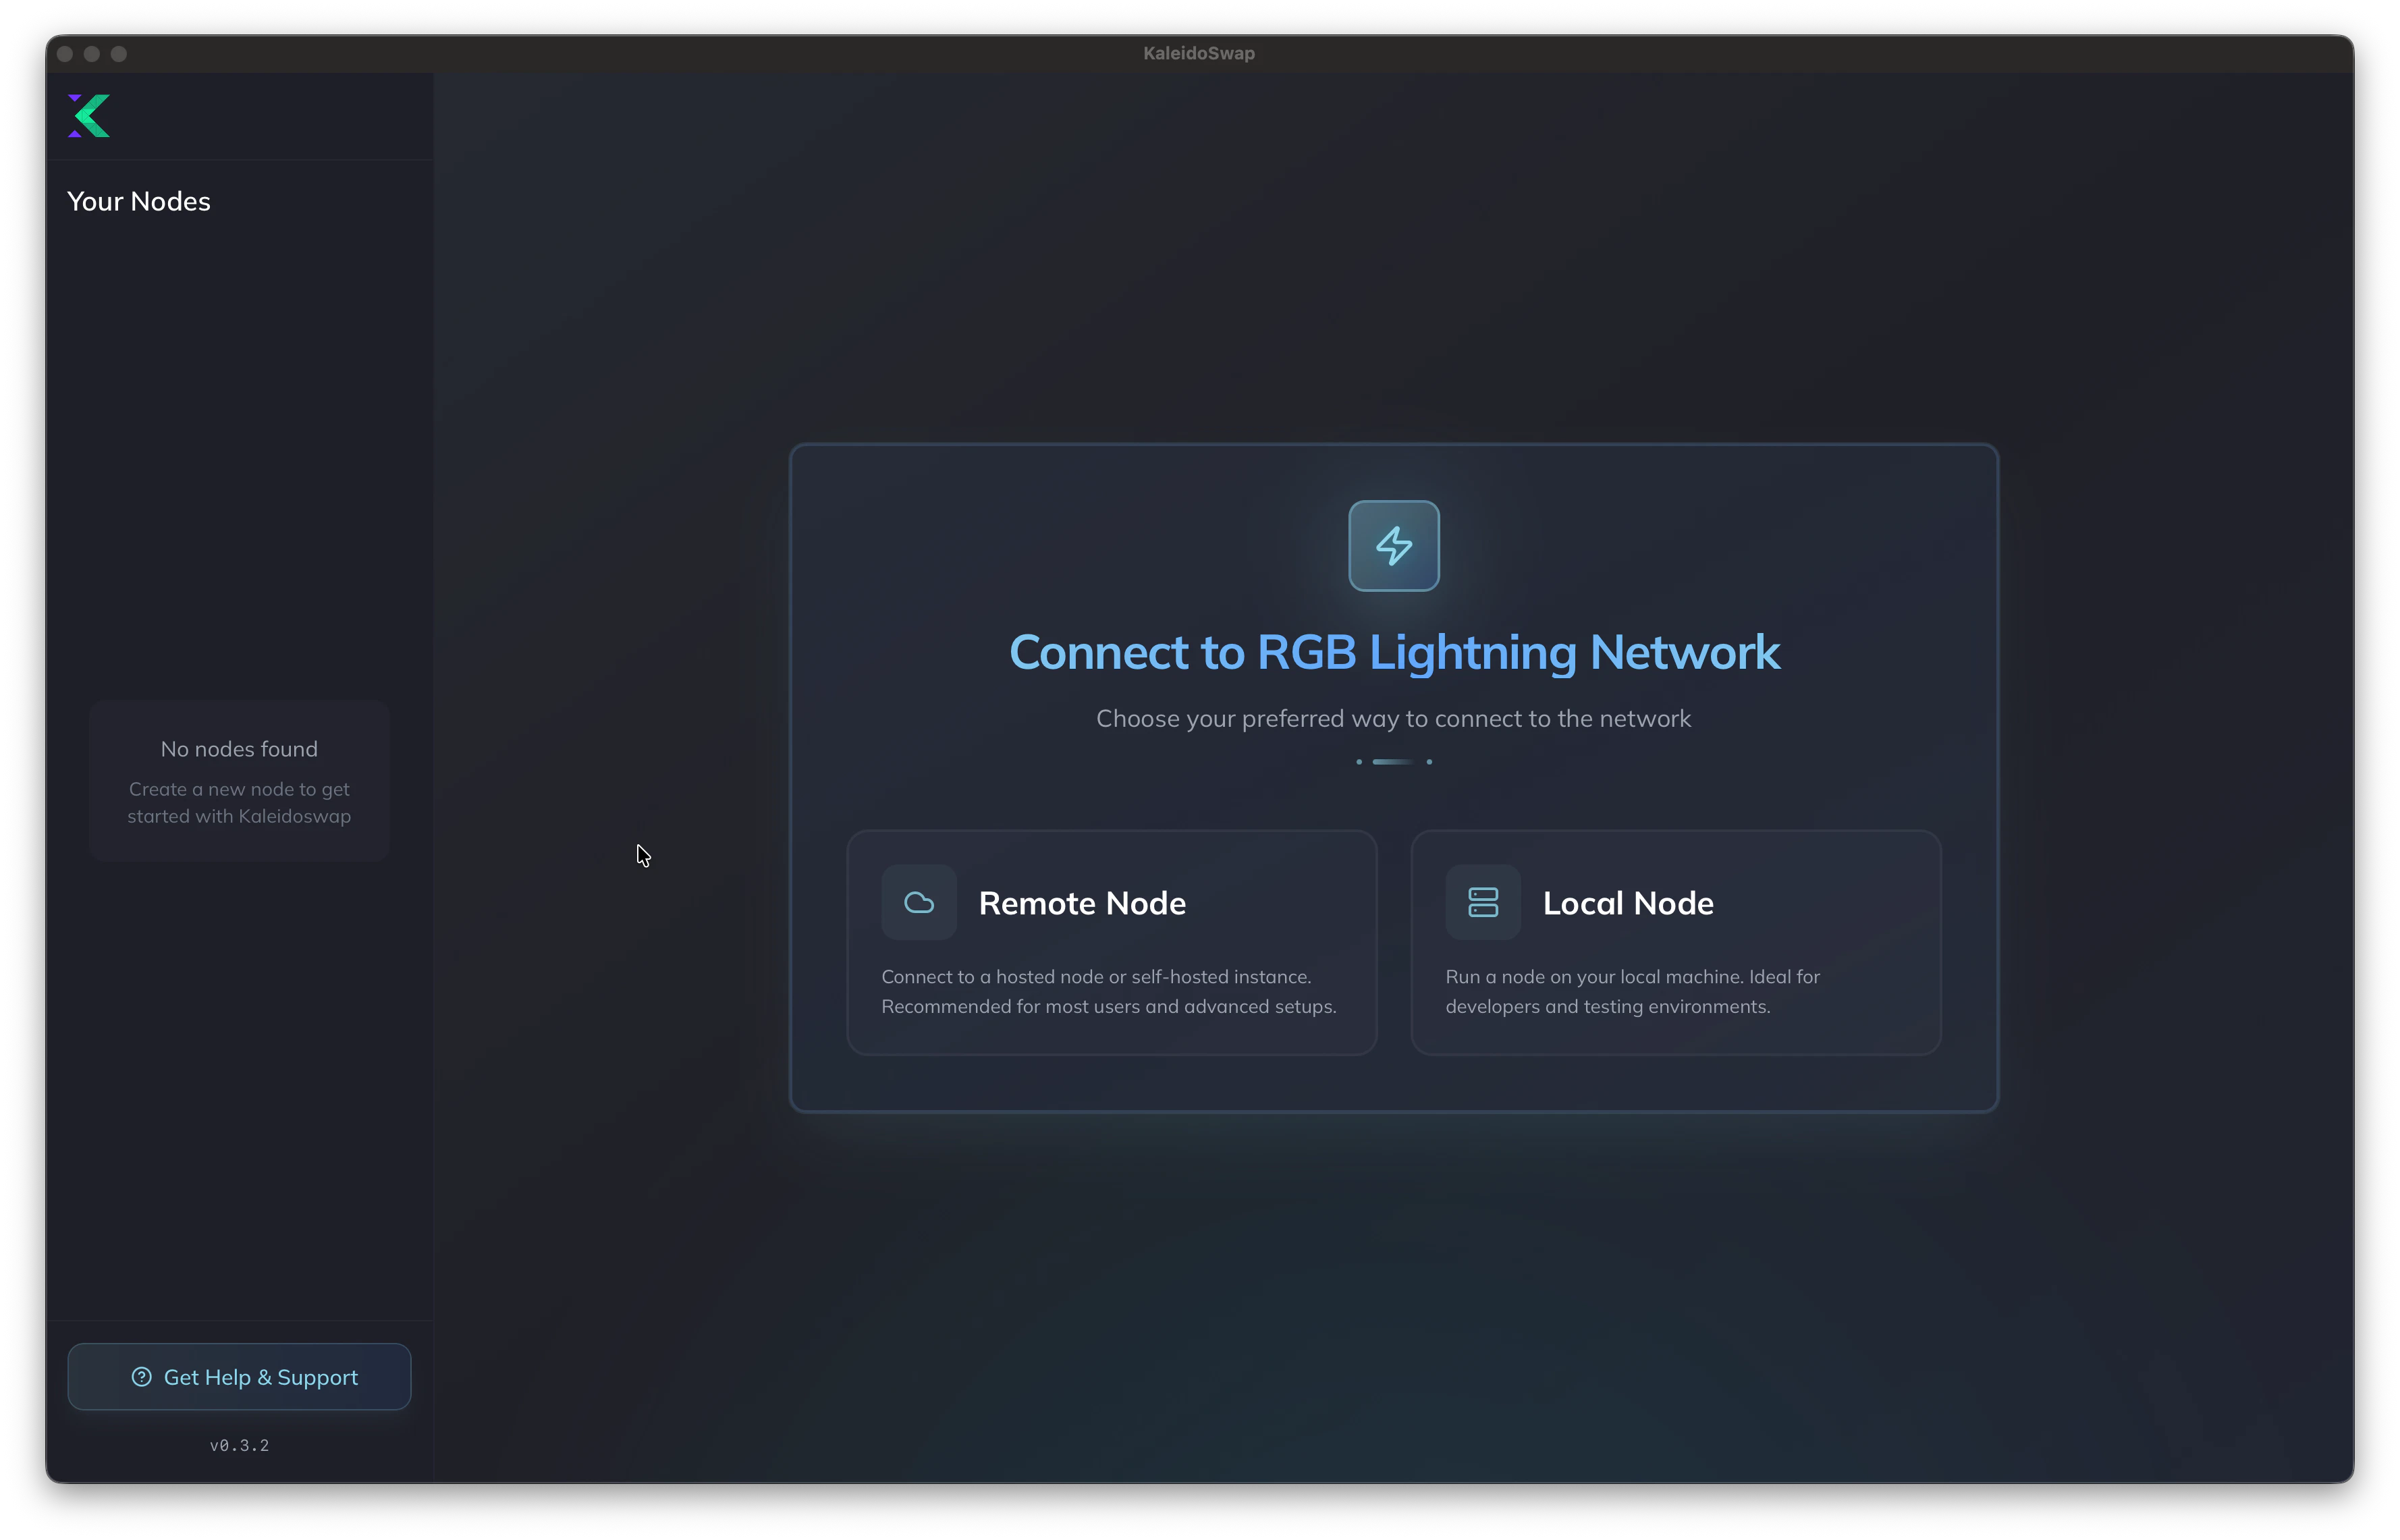
To start the creation process, you first need to select “Create New Wallet” option: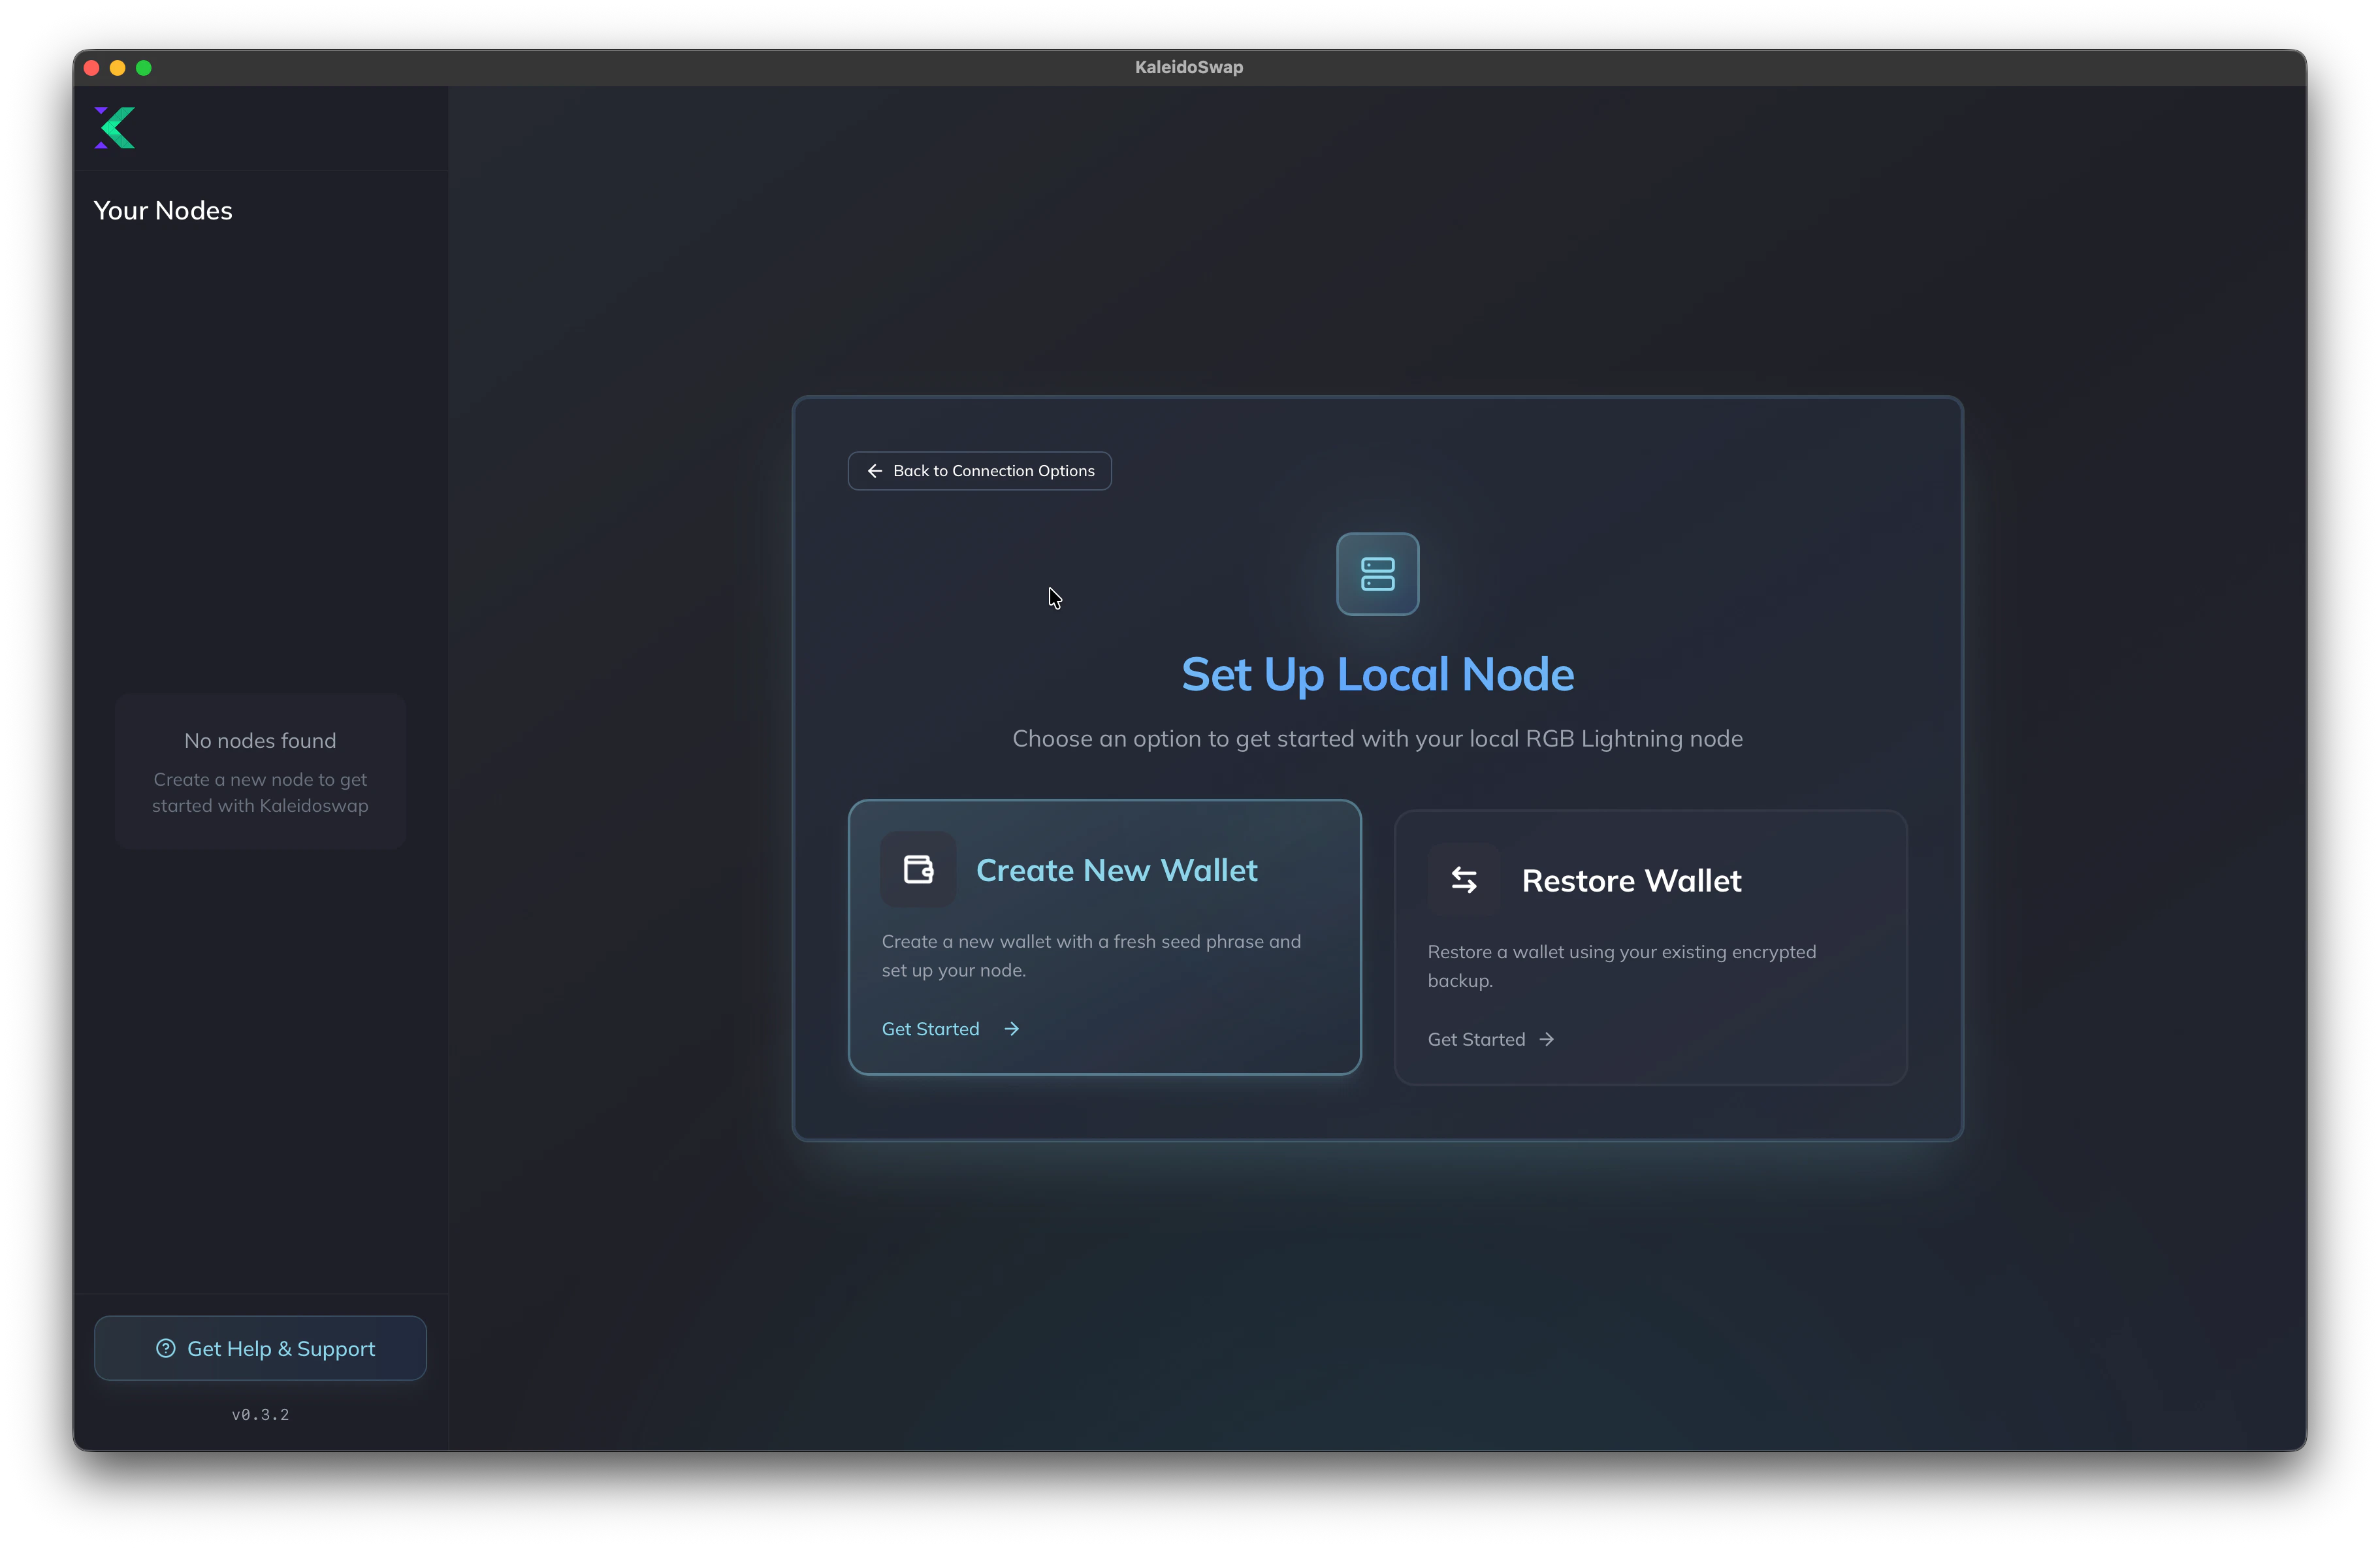
- Assign a name to your new account and select the network you want to use. We currently support “Regtest”, “Signet” and “Testnet” as testing options.

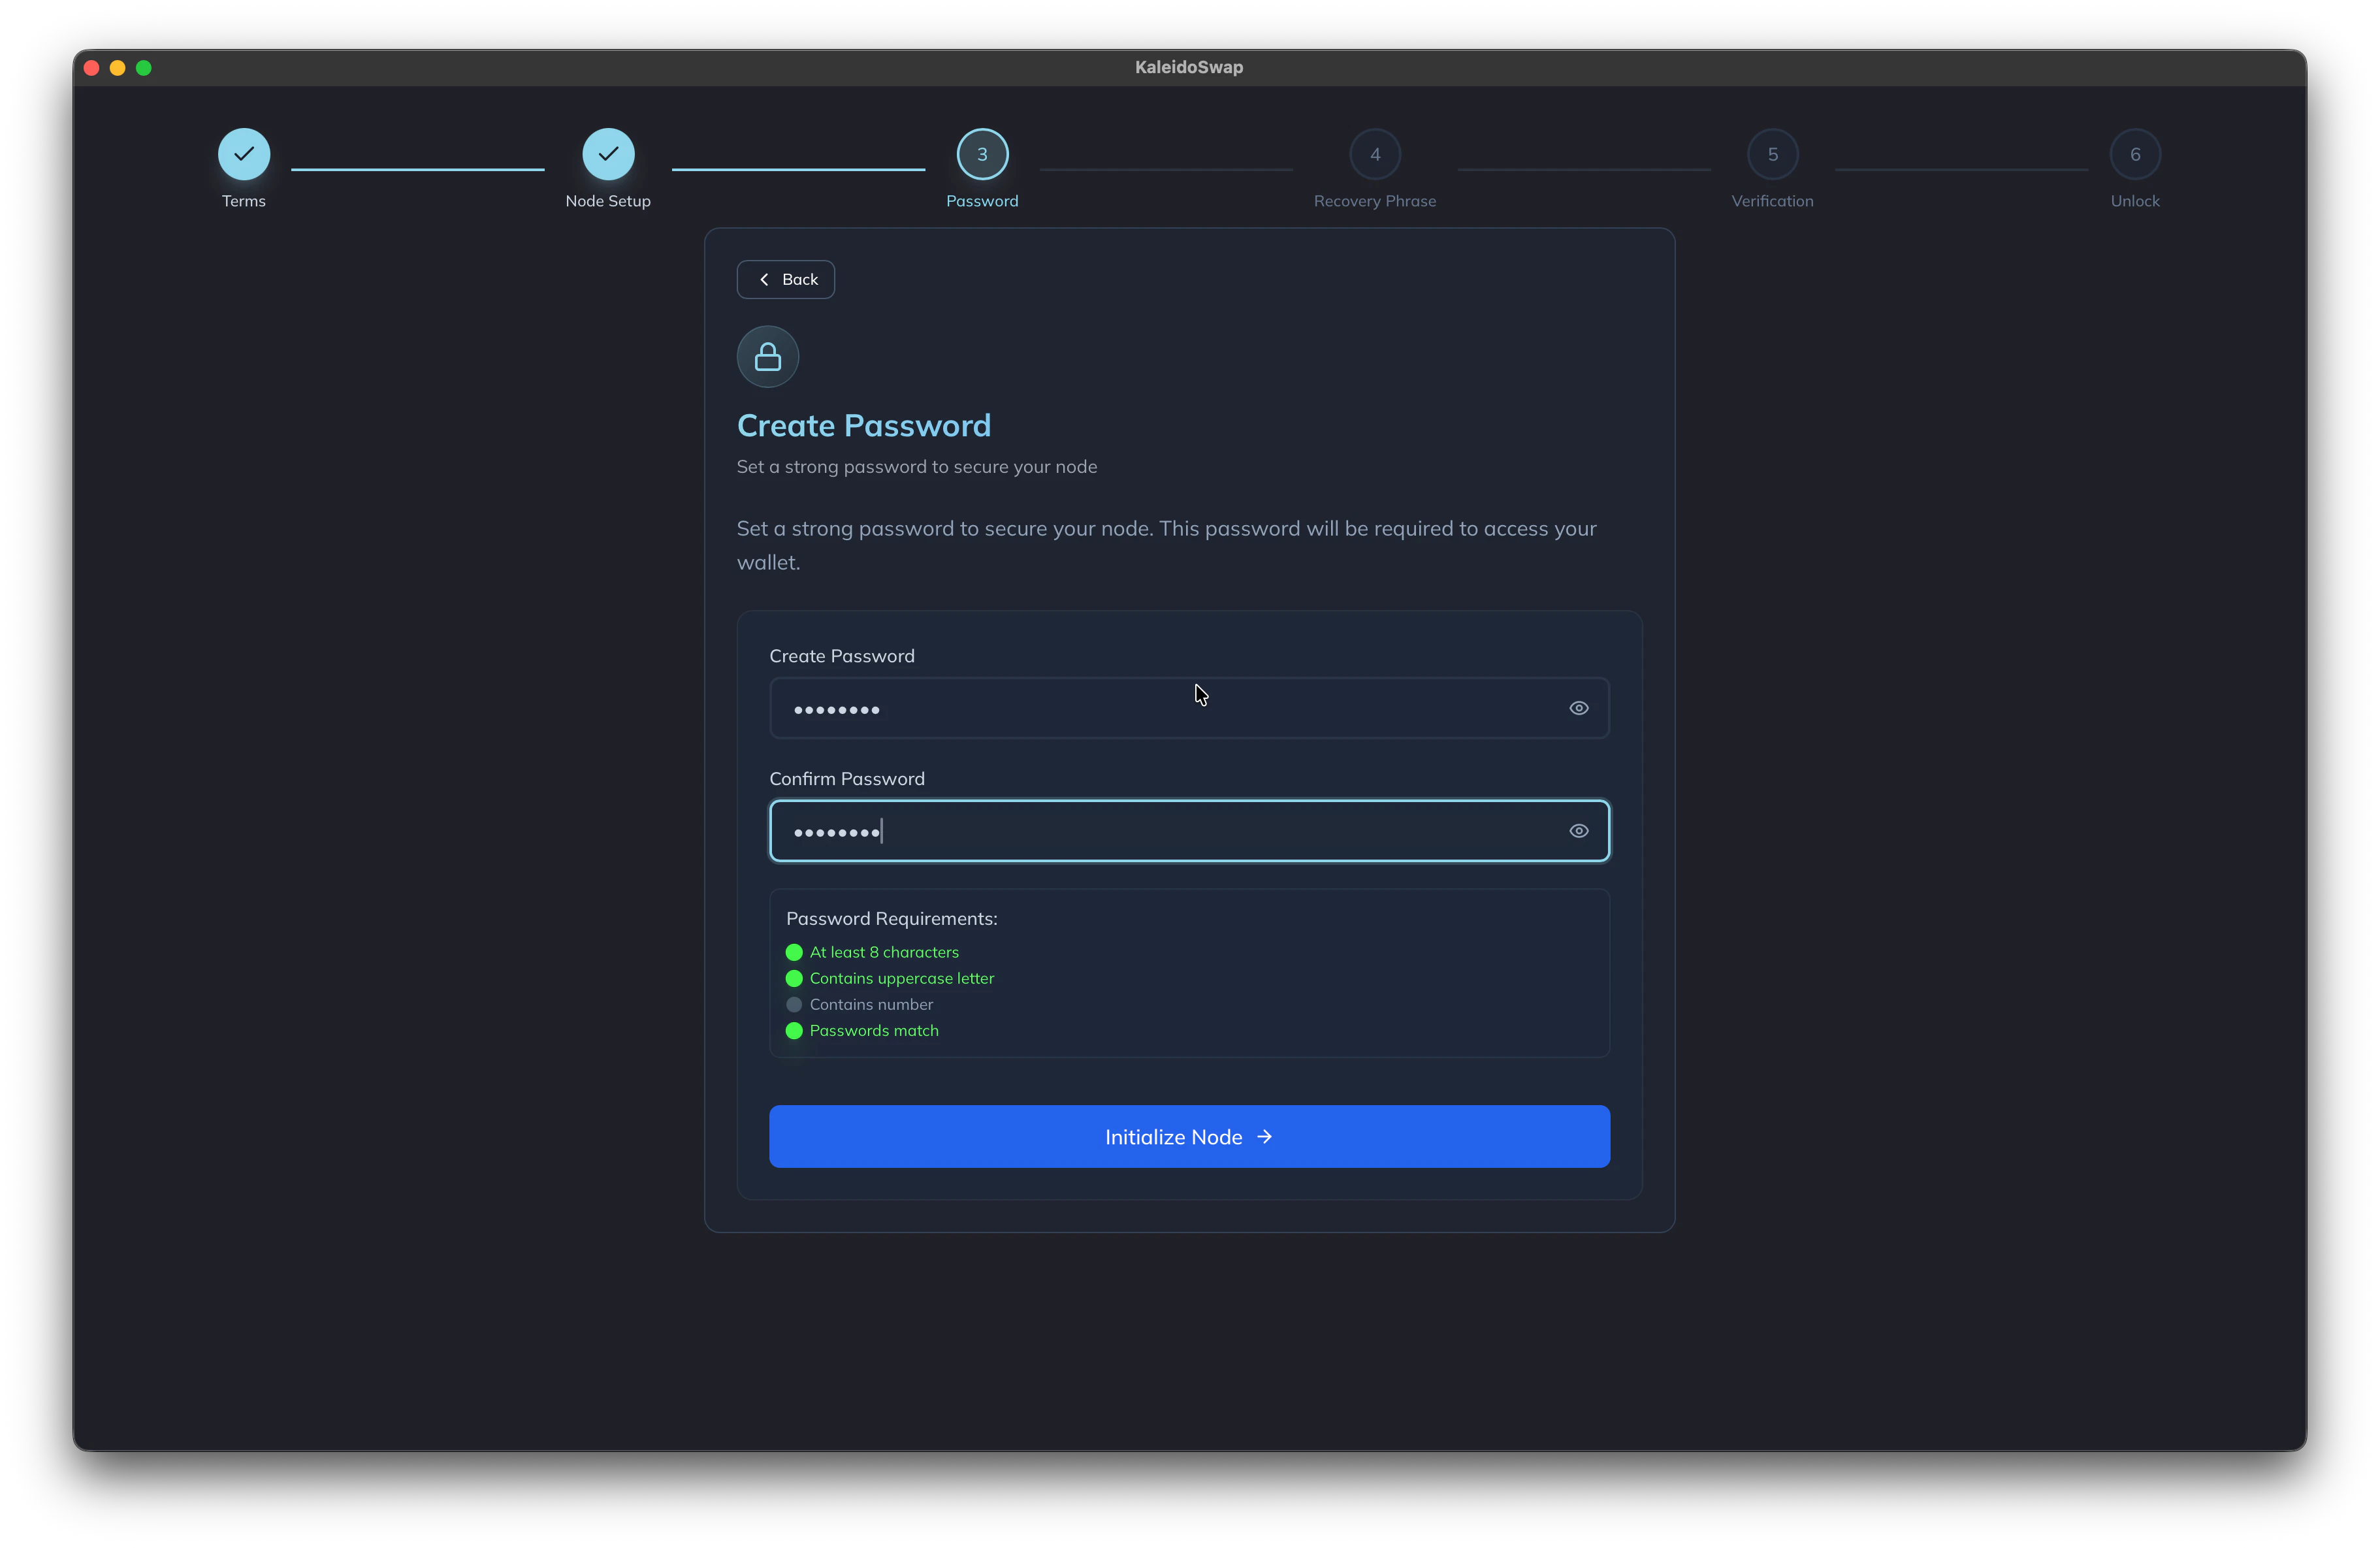
- Set a Secure Password: Enter a strong password to protect your wallet and then click on “Initialize Node”. This will trigger the initialization of your node on your machine.
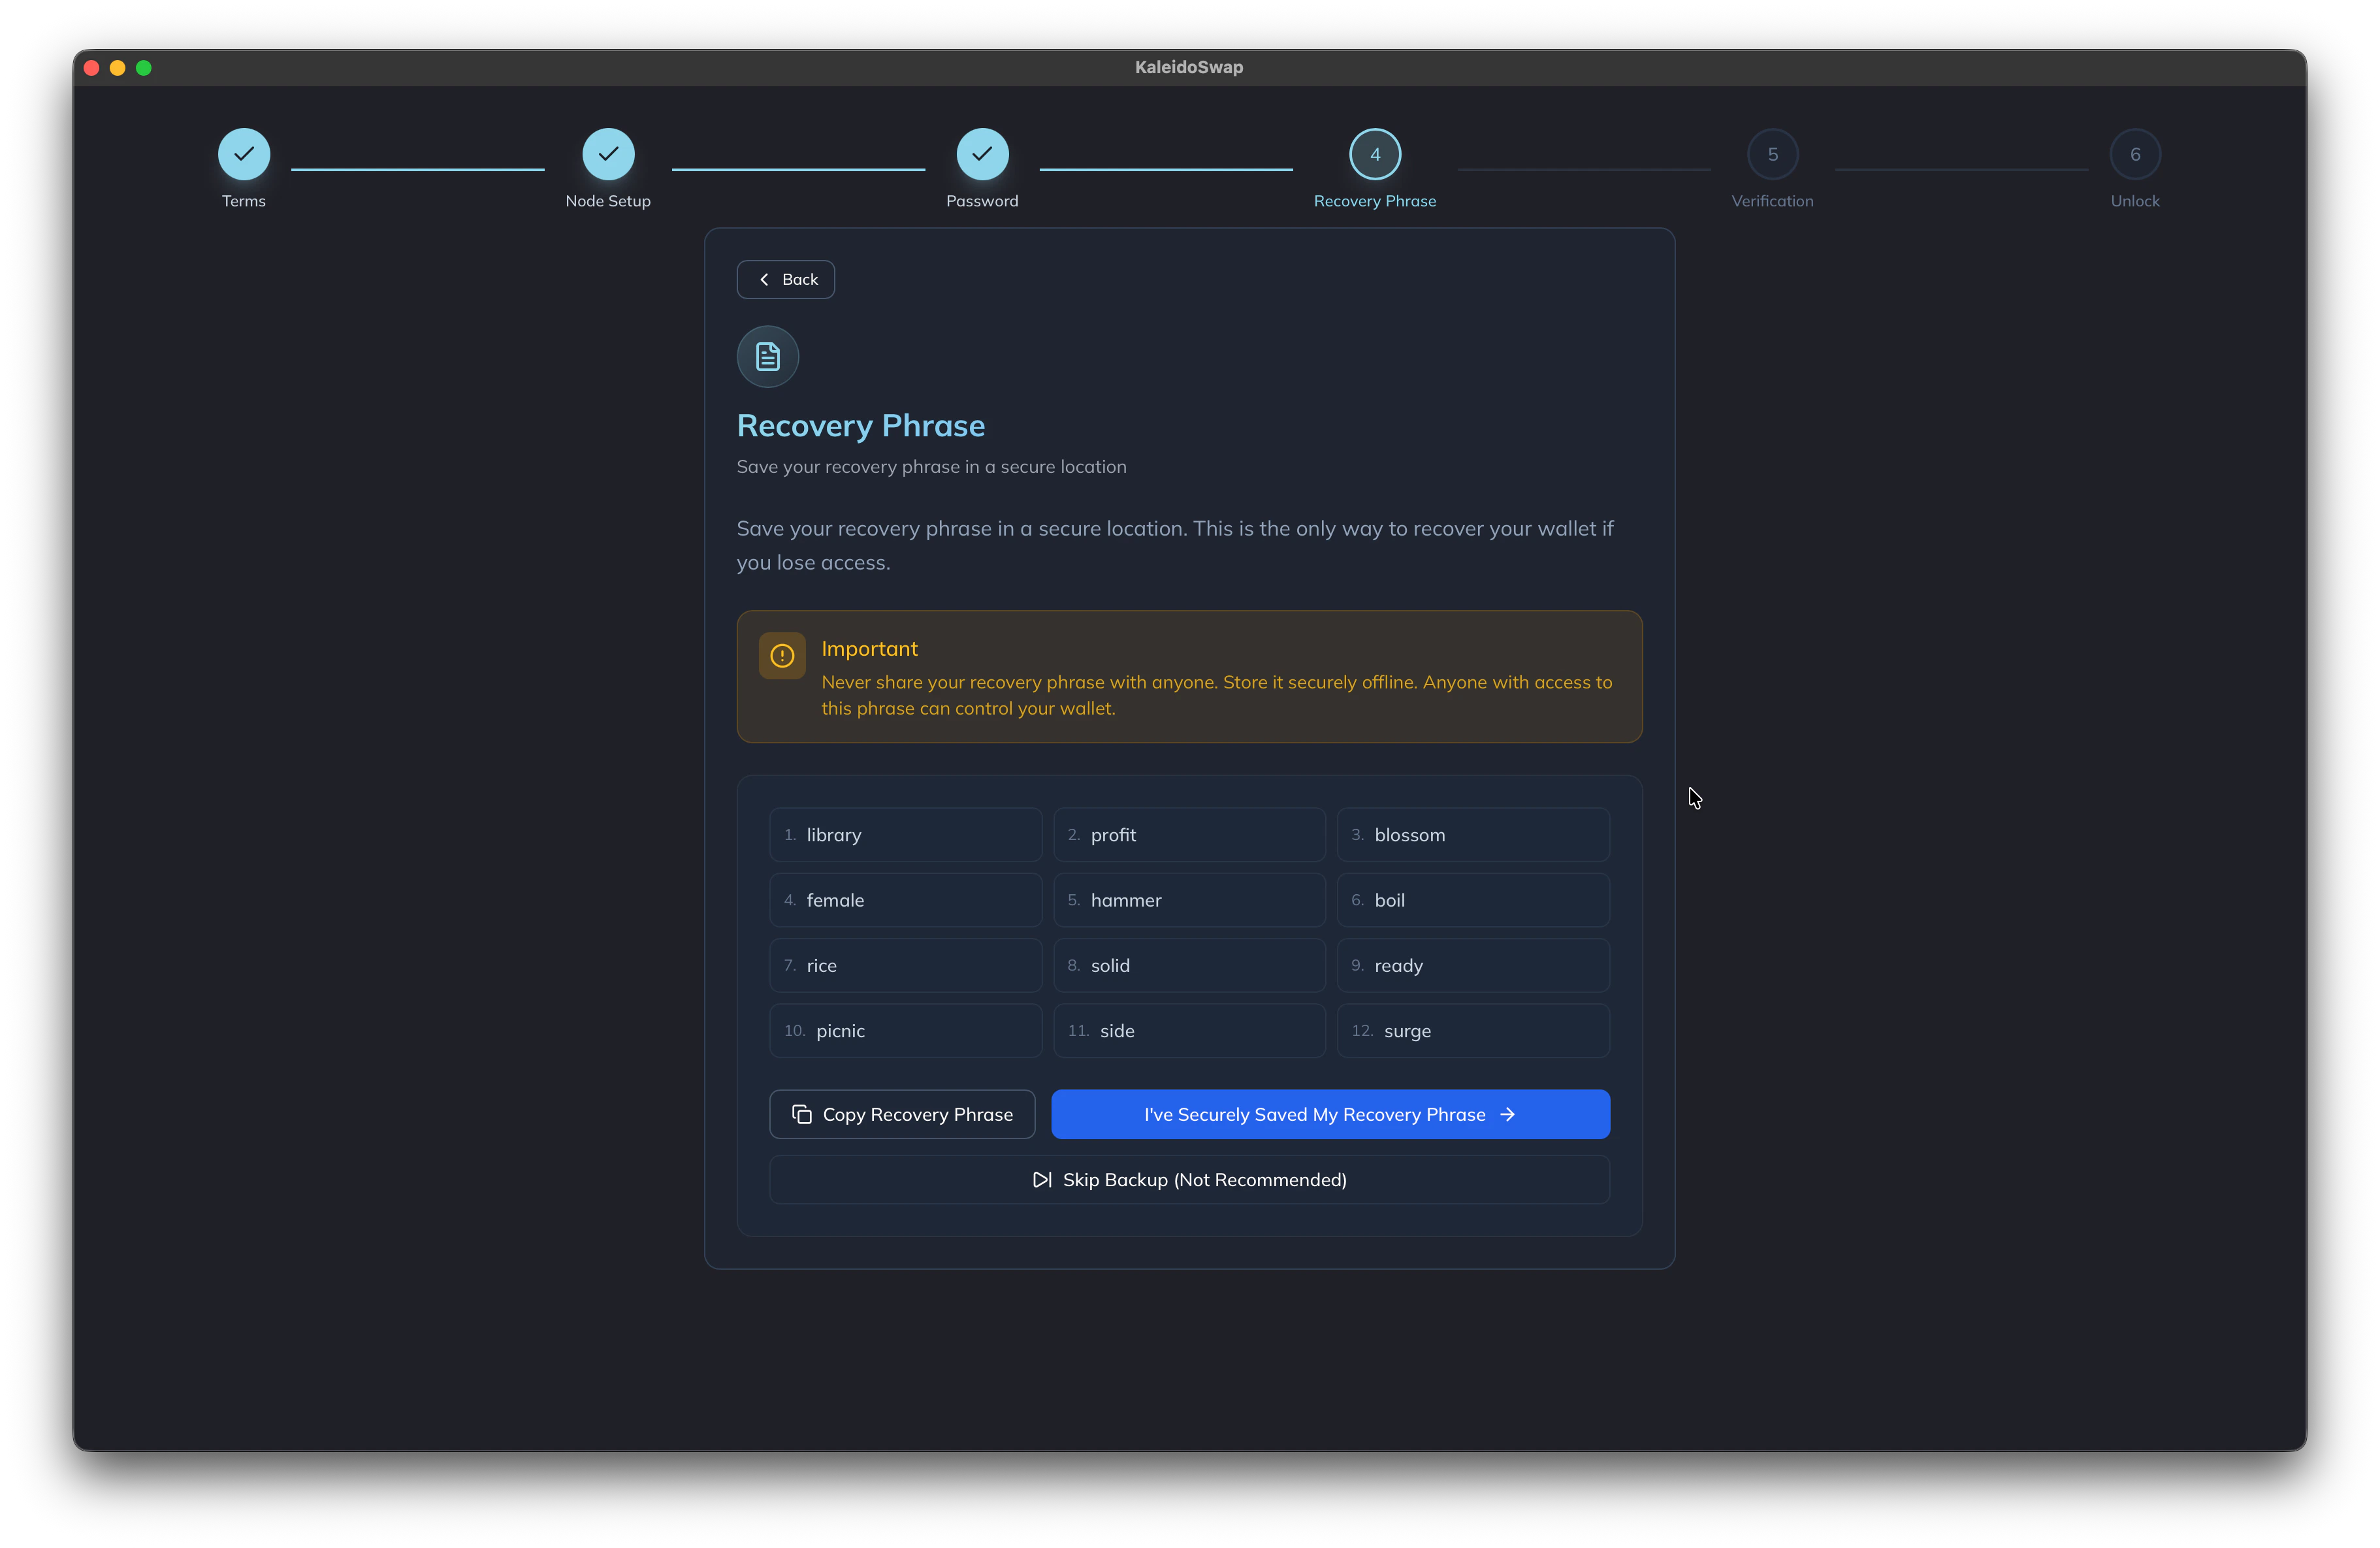
- Backup: After the node has been initialized, write down the mnemonic phrase provided and store it securely.
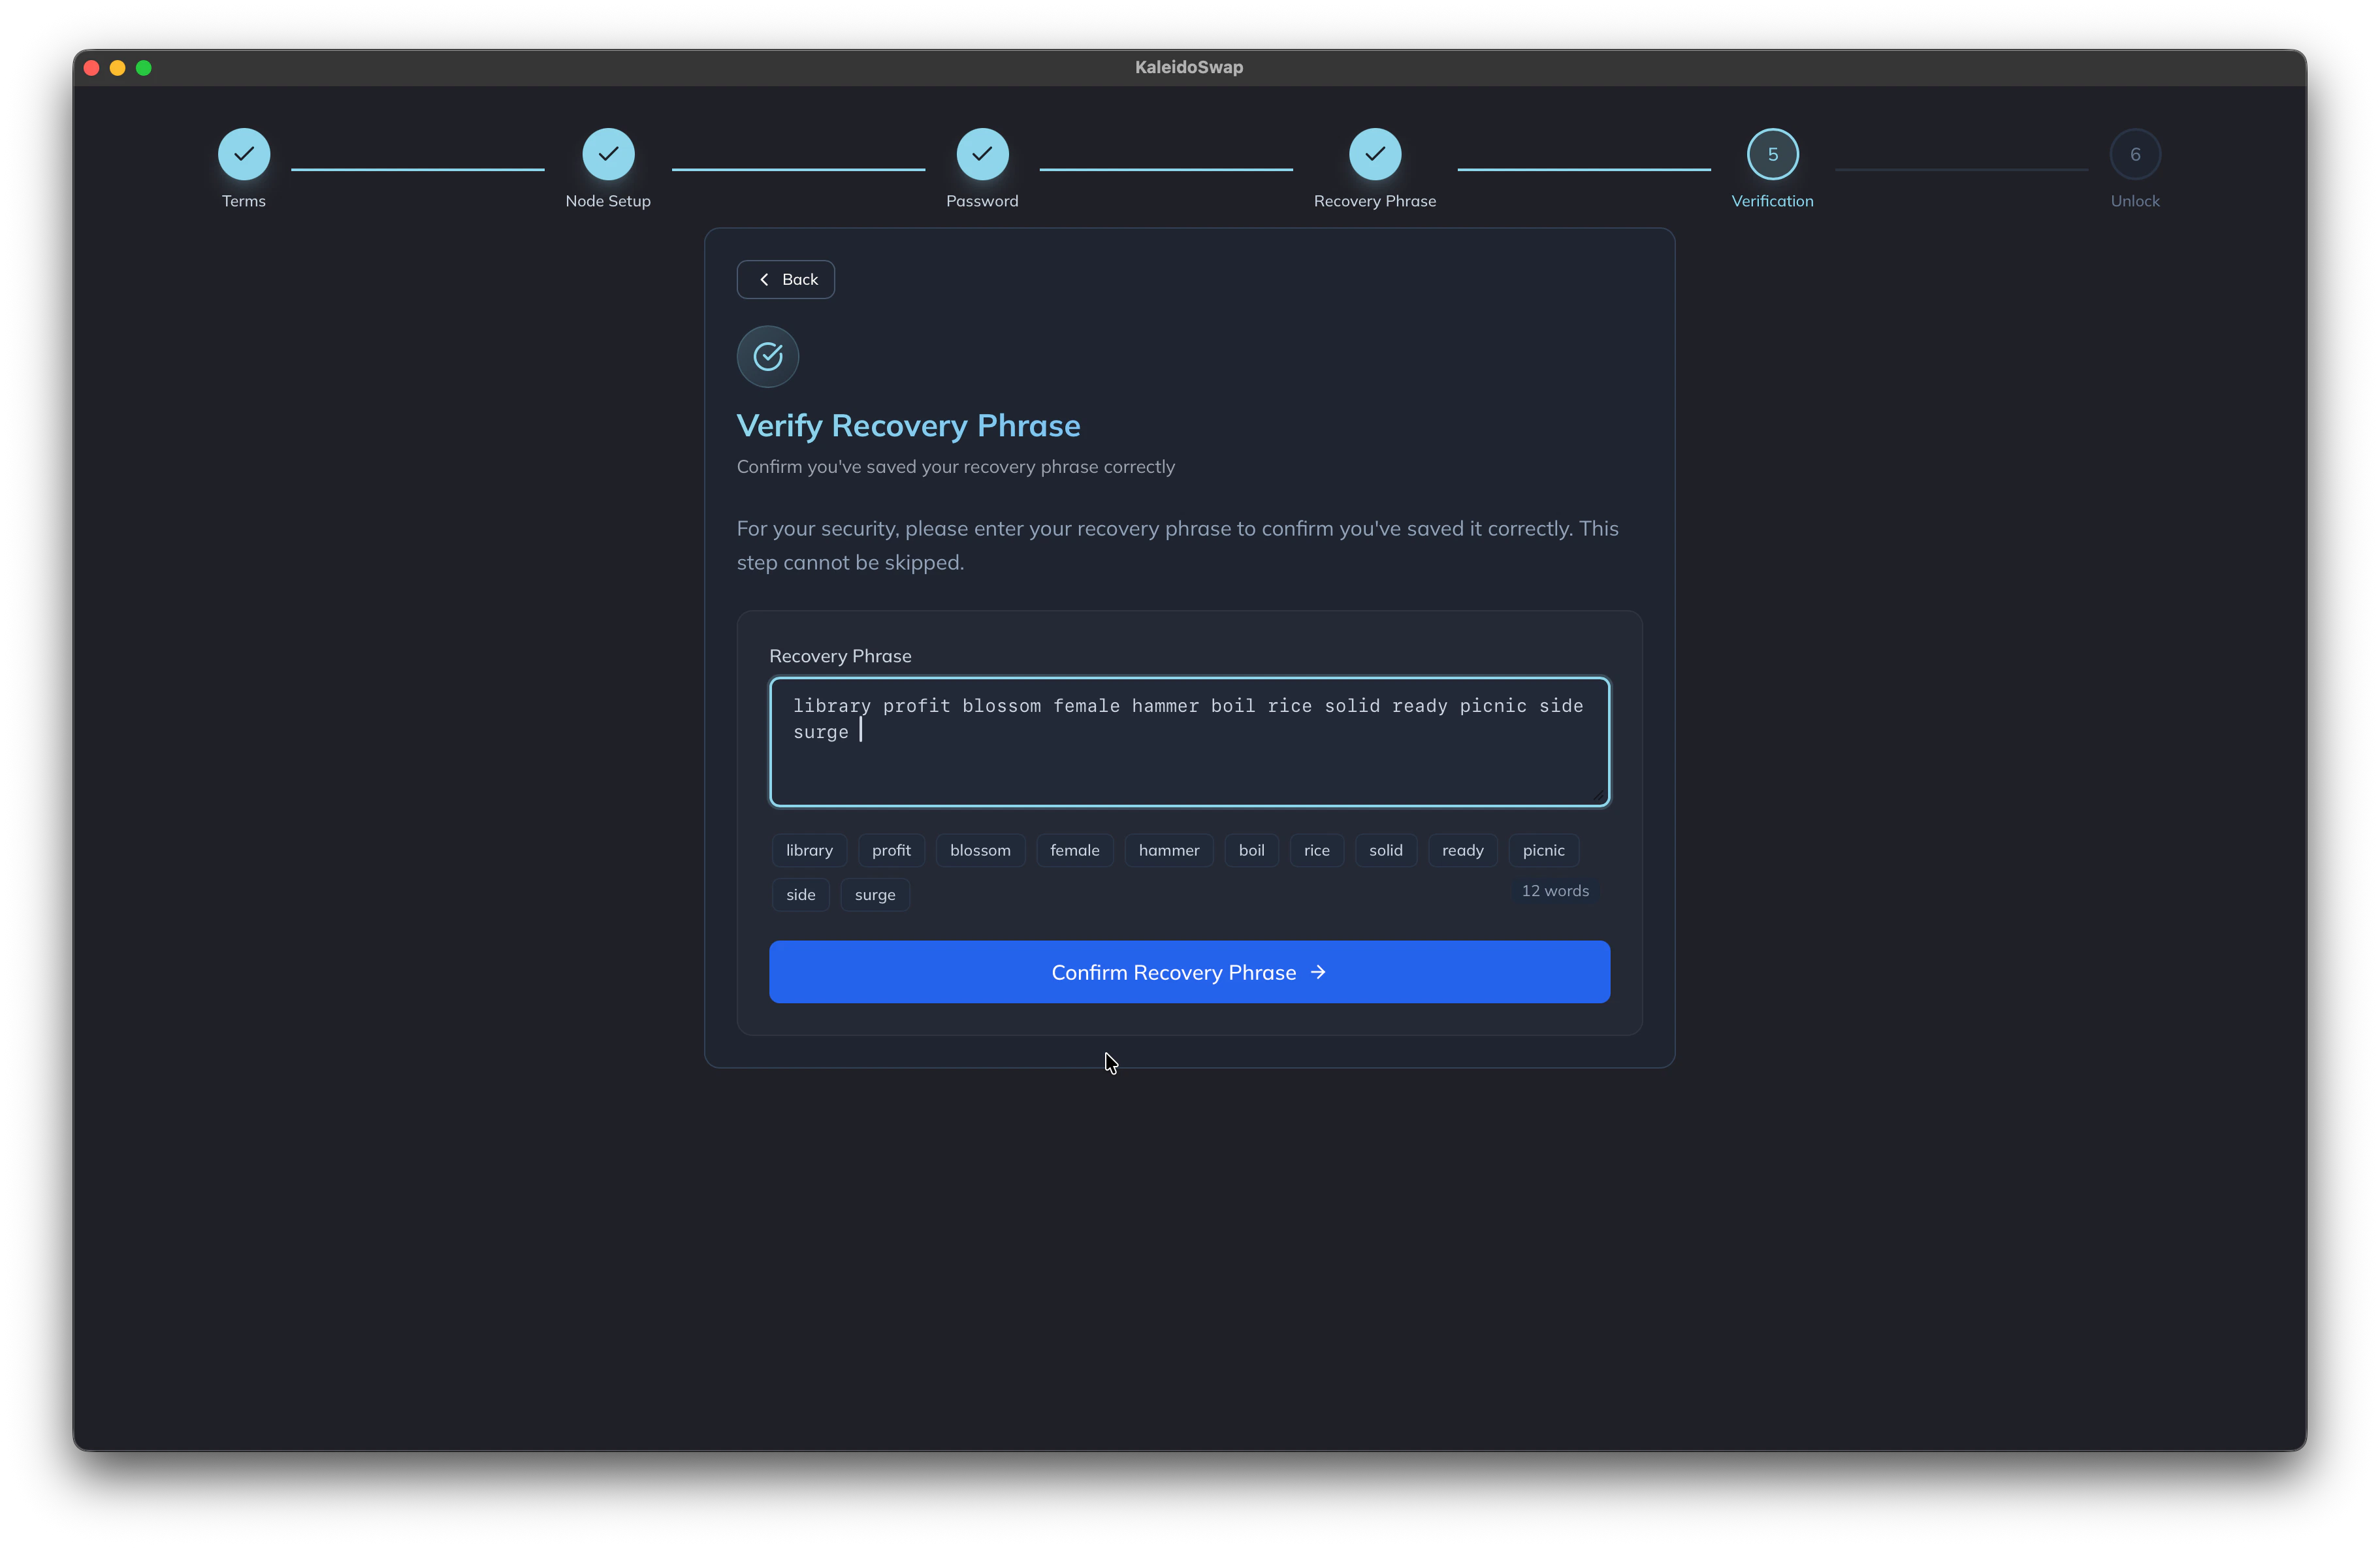
- Verify recovery phrase: you will be asked to enter back your recovery seed for security purposes.
Select Account
If instead of creating a new account you need to select an existing one, you can select it among the ones that has been previously saved on the left menu, even if it has not been initialized. Here is the procedure:- Select Account: From the menu on the left.
- Click on Select Node after checking that it’s the correct account.
- Unlock Wallet Enter the previously generated password to unlock the local RGB Lightning Node instance.